Forms
Create your own contact, feedback, application forms or more. Once you have created a form, you can link it to one or more pages. This module offers you the option to automatically send completed forms to selected mail addresses. In addition, the completed forms are automatically saved in the module. You can create an export of these. The option for this is at the top of each form.
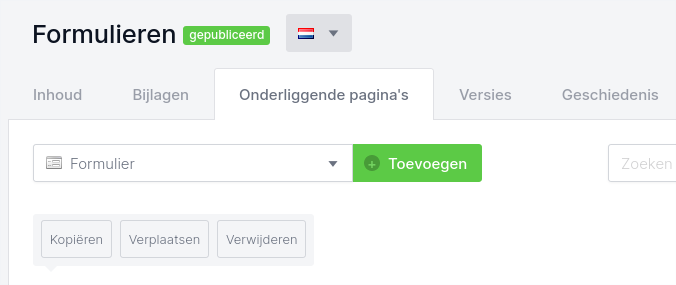
To start creating a form, click on 'Forms' in the page tree.

Next, you can add a new Form page in the 'Underlying Pages' tab.
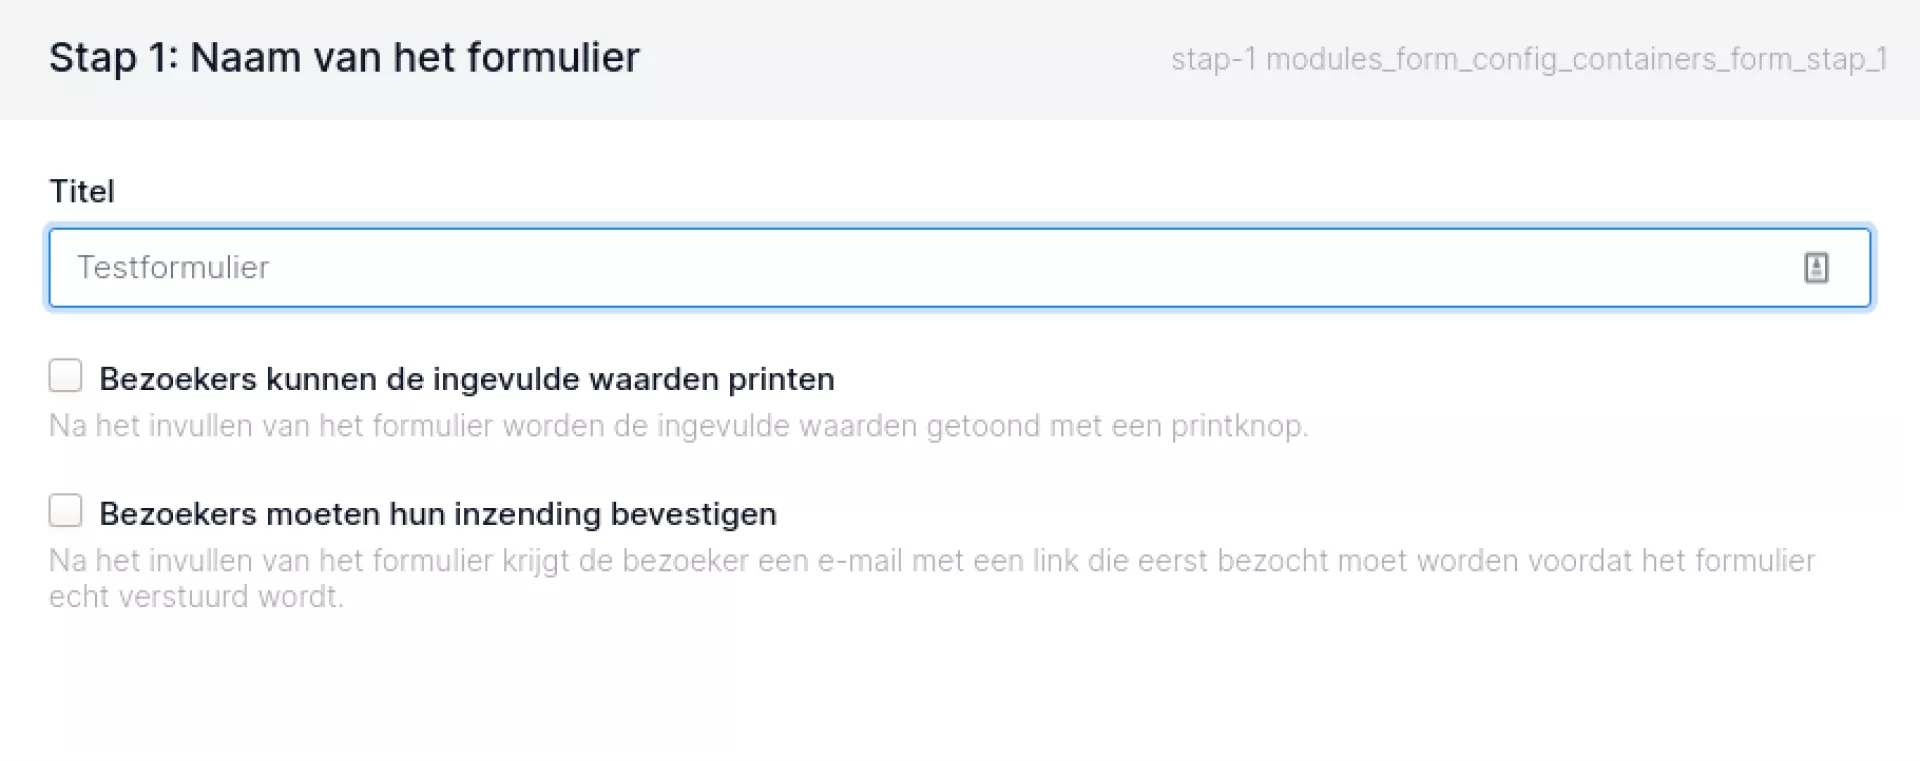
To create a form, you go through several steps. In step 1 you give the form a name. You can also indicate here that the user can print the completed form himself. You can also set it up here that the user first receives an e-mail with a confirmation link before the form is actually sent. This prevents spam and possibly incorrectly filled in e-mail addresses.
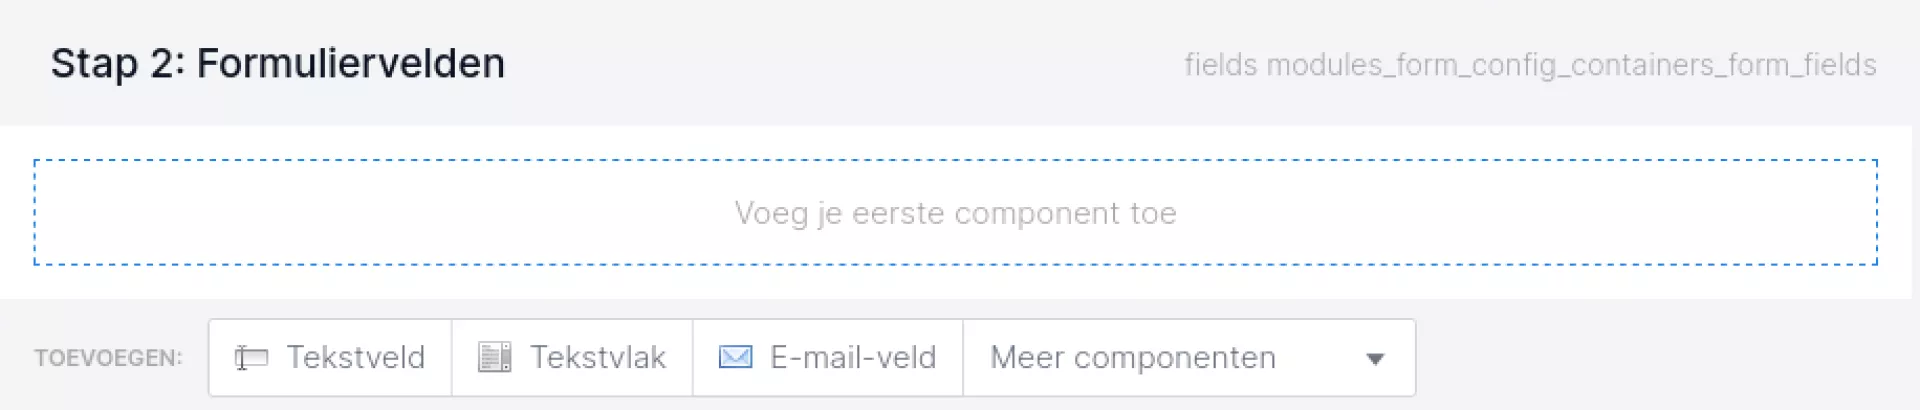
In step 2, you add the different parts of the form. Here you specify what can be filled in. You have a large number of options here:
- Text field (1-line input field, e.g. for a name)
- Text field (multi-line input field, e.g. for a comment)
- E-mail field (here an entrant can enter an e-mail address)
- Upload field (to attach files)
- Choice field (to provide a drop-down list from which 1 option can be chosen)
- Ticklist (to provide a drop-down list from which 1 or more options can be chosen using a pull-down menu)
- Tick box (only box that can be ticked)
- Date field (to enter a date)
- General terms and conditions tick box (tickable box, referring to general terms and conditions)
- ReCaptcha field (the familiar "I'm not a robot" field)
- Interhead (to place a header between the other components)
- Witline (to be used for better formatting)
- Aline (to insert a text visible to the filler)
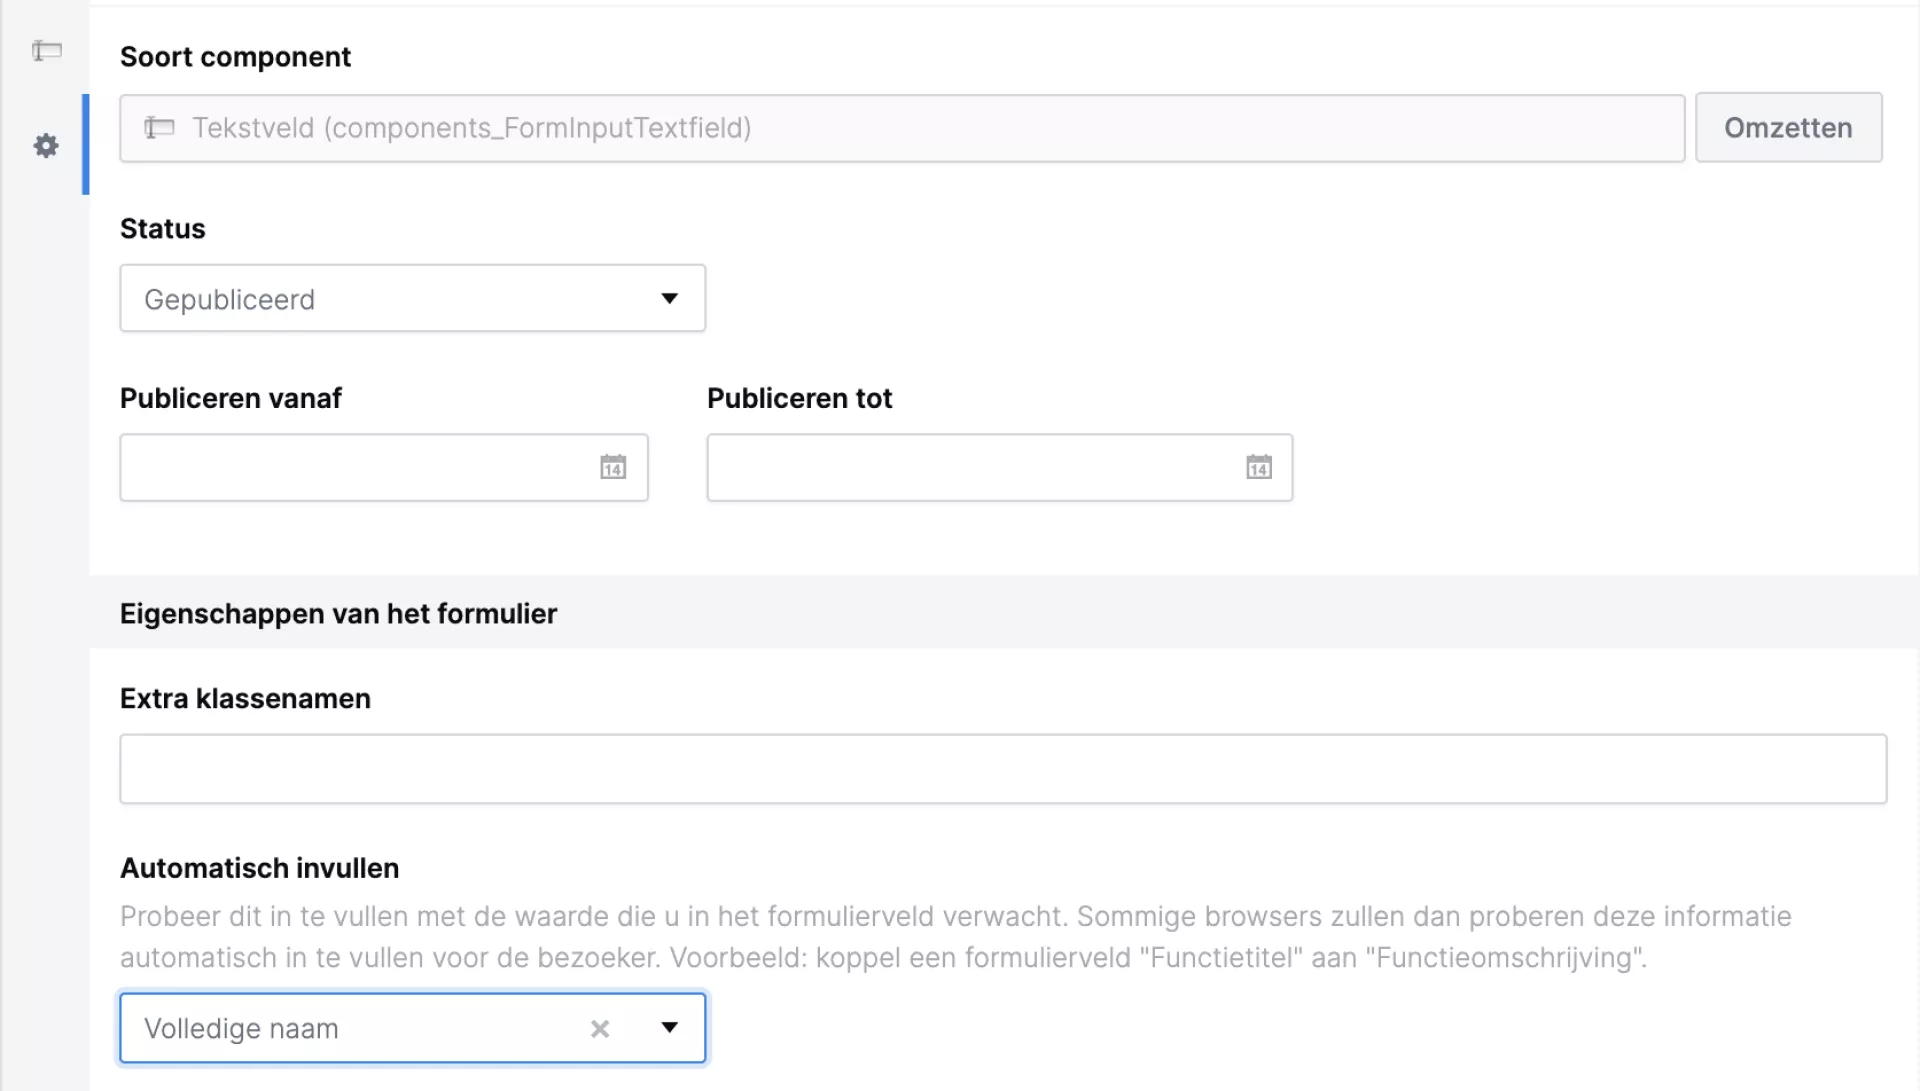
WCAG tip: through the component's properties, set the 'auto-fill' field so that the form can be filled in automatically using data stored in the user's browser.
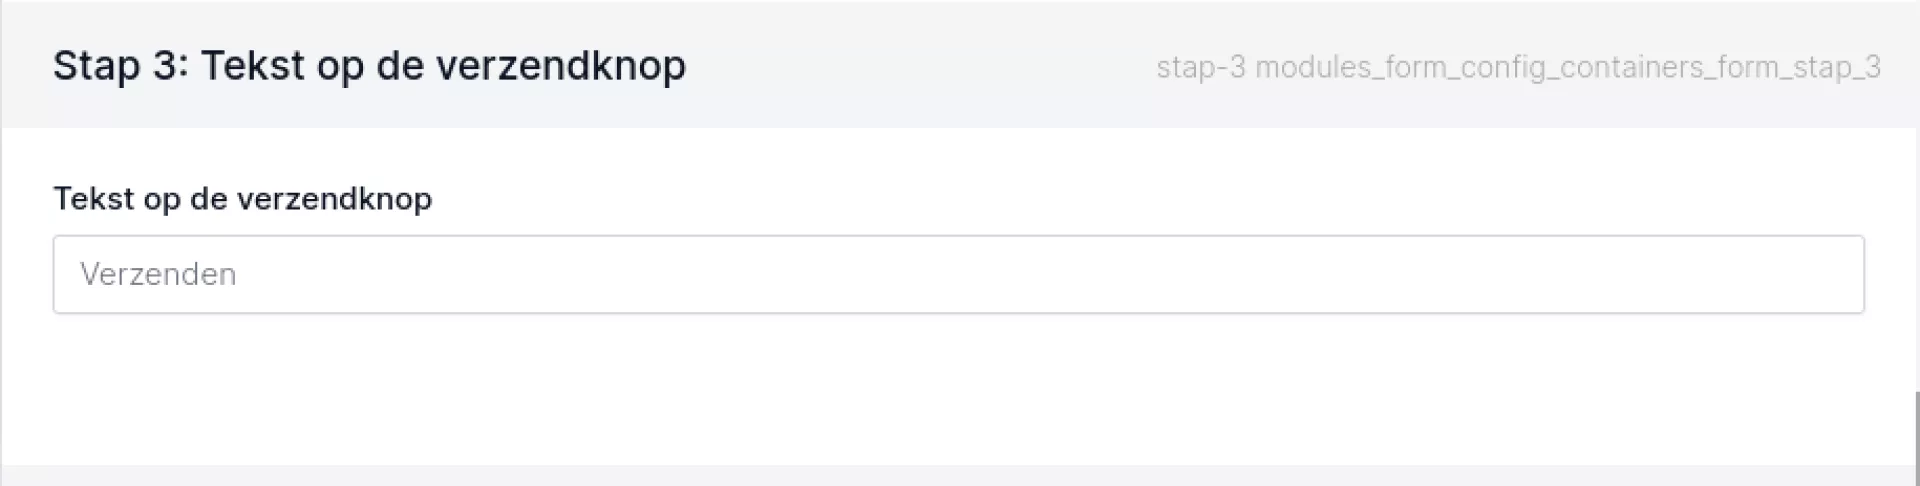
In step 3, you can customise the text of the submit button. By default, it says "Send" here.
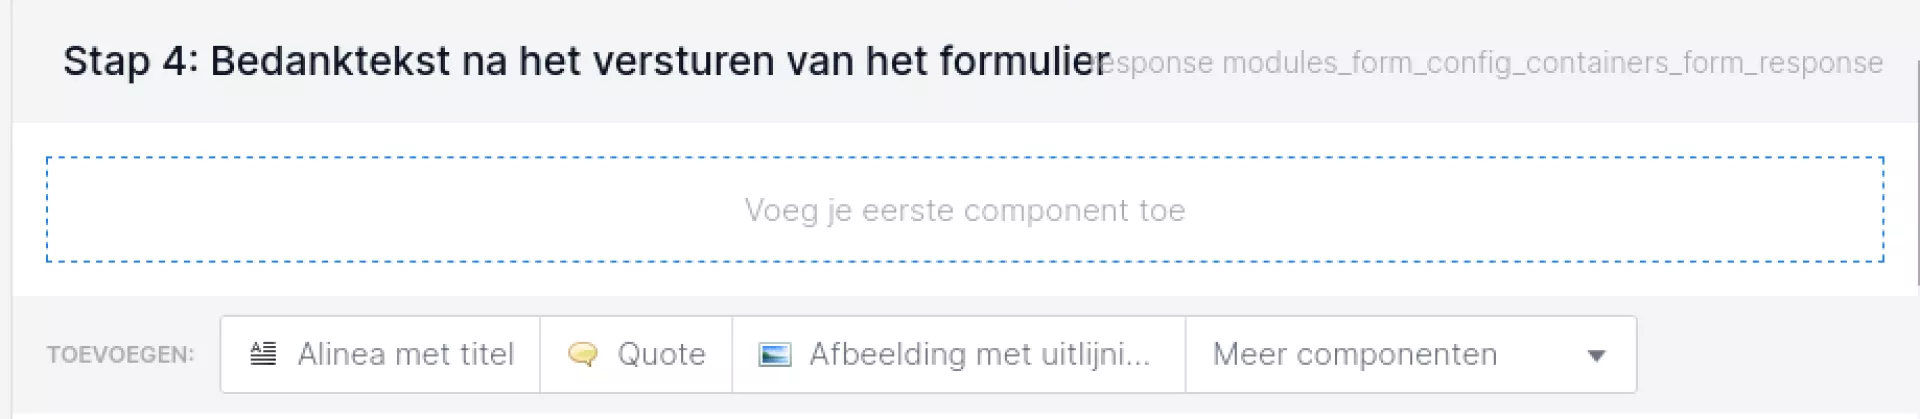
In step 4, you create the page that the filler will see, after filling in the form. On this page, you can use most of the components you can also use for a standard page.
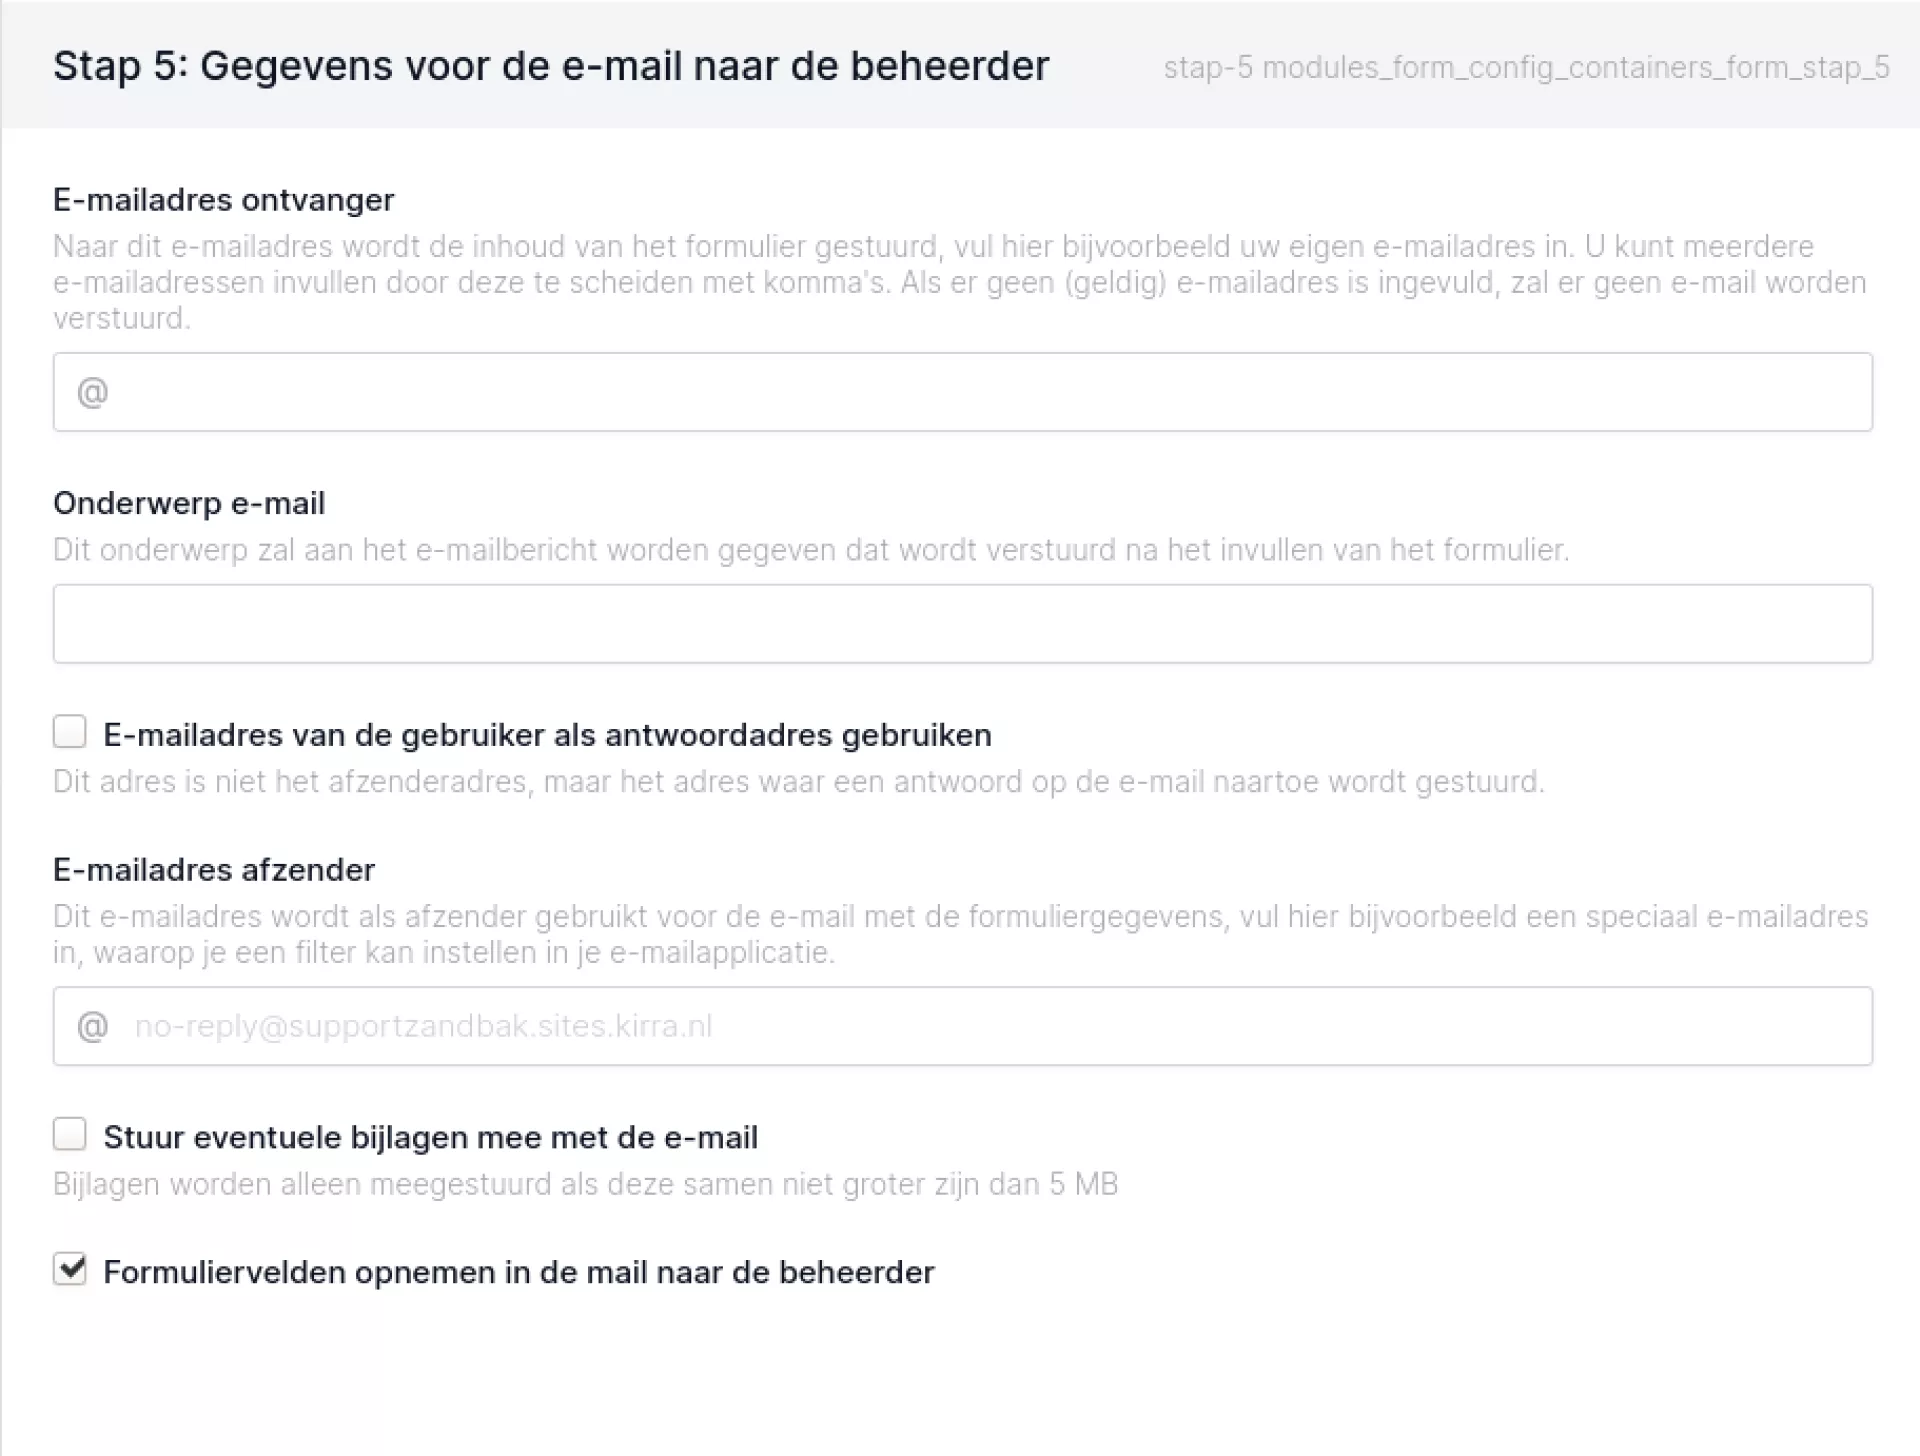
Step 5 is important for yourself. Here you specify the e-mail address to which the completed forms will be sent. So this is an e-mail address of yourself or one of your departments. You can also indicate the subject of the e-mail with the form (e.g. the name of the form). If you then send a reply to the e-mail you received with the completed form, this reply will arrive at the person completing the form.
In addition, you also have an option to set the sender's e-mail address. This e-mail address will be used as the sender for the e-mail with the form data you receive. Fill in a special e-mail address, for example, for which you can set up a filter in your e-mail application so that the mails with the forms end up in a specific folder.
Als last option is to send attachments (up to 5 MB, off by default) and to send the completed form fields (on by default).
.
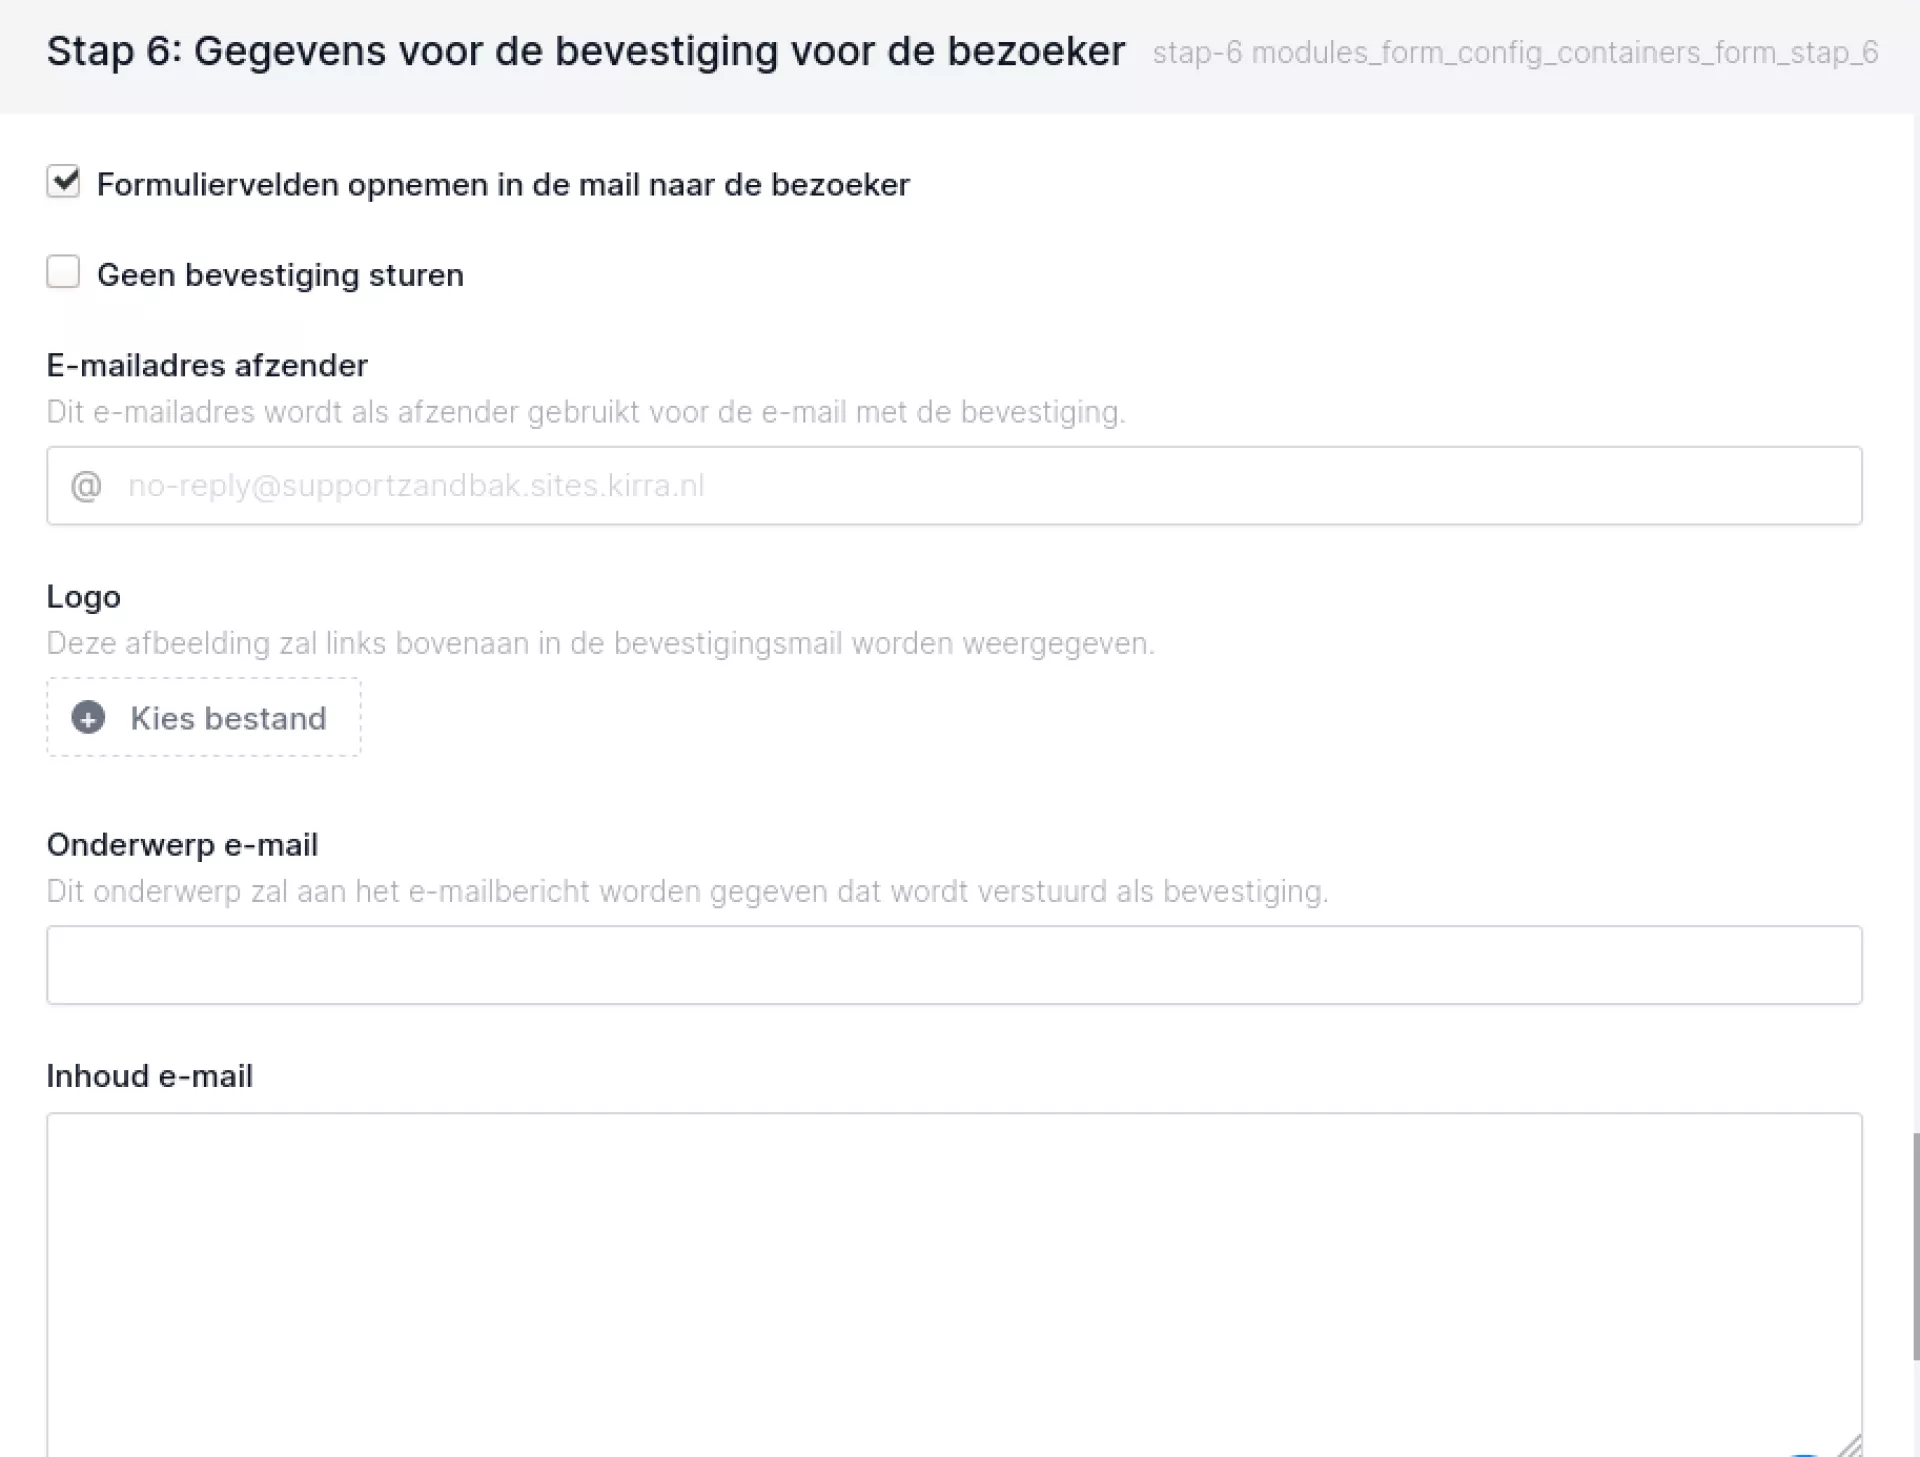
Step 6 you use for the e-mail that the visitor can receive as confirmation. Here you specify exactly what the e-mail should contain. You can also add a logo and set the e-mail address to be used as the sender of the confirmation e-mail. If you do not want the visitor to receive a confirmation, you can also tick that here.
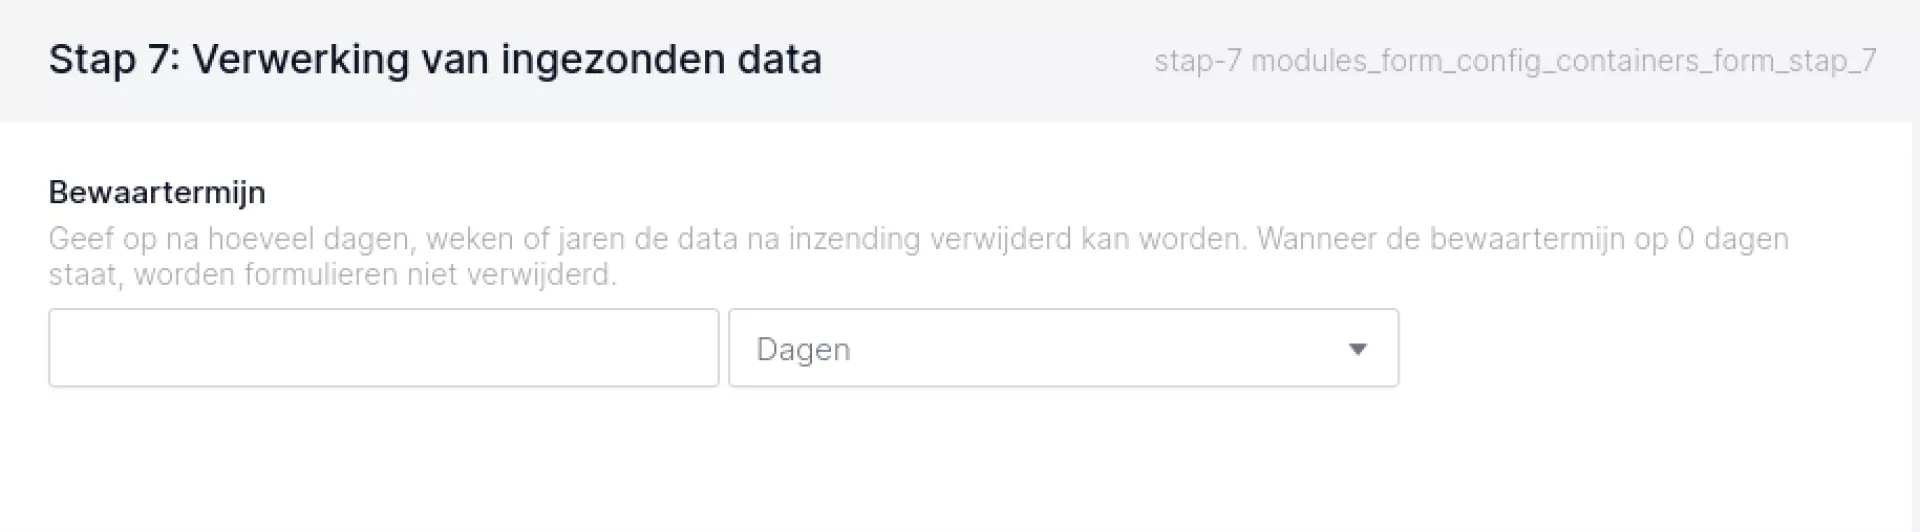
In step 7, you can specify how long data should be kept. This can be useful in the context of the AVG/GDPR. If you do not enter anything, the data will never be deleted.
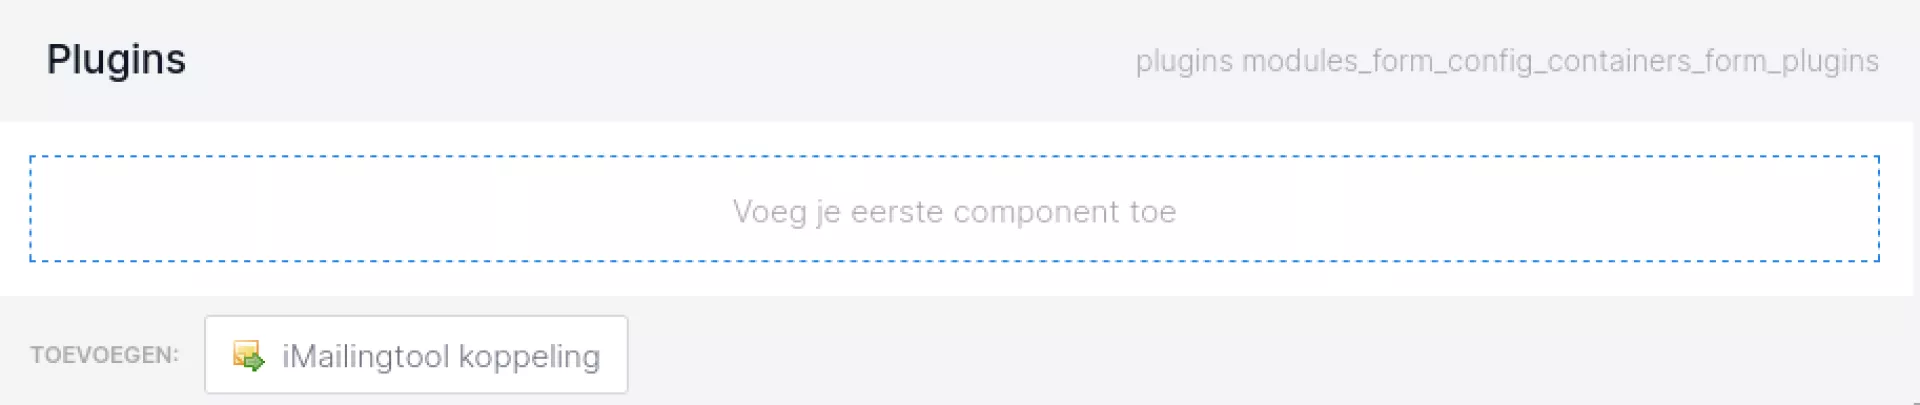
Plugins: These allow you to link an address list from the iMailing tool to your form. This allows you to create a submission form for your address list via the forms module, so you don't need a separate component for this.
Have you created a form and run a few tests to make sure everything works properly? Then you have those tests in your export as well. Of course, it is nicer to start with a clean sheet. If you copy the form, your test entries will not be copied. The new form is then exactly the same, but empty. You can then delete the old one.
Note:
It can happen that users receive an error message when filling in a form. This often happens when large(er) pieces of text have to be entered, containing various special characters (think @ ! ' # $, et cetera). This can happen, for example, in literature lists or motivational notes.
If this happens often, or if you suspect it will happen often in advance, it is useful to let users upload this kind of text by means of a document in an upload field.